


The quick answer is: About 20 hours, if you have basic woodworking skills and a solid plan going in.
That number isn't a marketing estimate. It's what experienced builders report when they're working from a quality kit with accurate cut lists and clear instructions. But that estimate, though realistic and based on our decades of experience, can still vary depending on the complexity of your particular build. Additionally, the actual time to completion for your project depends on how you schedule it. The goal of this post is to help you plan those 20 hours (more or less) intelligently to reduce wasted time and improve your outcome.
It will likely be helpful to read the instructions for your specific mechanism before you start this phase, rather than during.
What Basic Woodworking Knowledge Actually Means
Before getting into the phase breakdown, it’s important to be clear about what skill level this 20-hour estimate assumes. This isn't meant to be a total beginner's first woodworking project, but it also doesn’t need to be a master craftsman's showpiece (though it could be!); rather, Murphy bed projects sit somewhere comfortably in the middle of those two extremes.
The 20-hour window assumes you're comfortable doing the following:
Reading a cut list. You can look at a bill of materials, understand what you're cutting (and hopefully why), and execute those cuts without needing to stop and re-read three times per piece. The cut sheet for a queen-size vertical build, for example, involves quite a few distinct components across solid wood and plywood: Inner frame struts, side rails, foot rail, head rail, face panels, cabinet verticals, header assembly, and more. Being able to work through that list efficiently is a meaningful part of the overall time budget.
A helpful hint is that you can make these large cuts at some home improvement stores or lumberyards, before you even bring them home!
Working a table saw or circular saw with reasonable speed and excellent safety. Several cuts, particularly the plywood panels for the cabinet panels, require precision. A few millimeters of drift on a cabinet vertical could affect your final aesthetics and how the bed opens and closes. You don't need to be a finish carpenter, but you should be past the stage where saw time is slow or tentative.
Basic hardware installation. The mechanism itself involves mounting pistons, aligning pivot hardware, and installing the leg system. The instructions are detailed and the hardware is designed to be installed by a capable DIYer, but you'll be working with hardware that has real consequences if misaligned — so being methodical matters.
If you're newer to woodworking but not a total beginner, you should mentally add 5–8 hours to this estimate before beginning the project. You can expect that time to be absorbed in slower, careful cutting, re-reading instructions, and maybe a few trips back to the lumber yard. Murphy beds built carefully by first-timers can still last for decades.
Approximately How the Hours Are Split
Here's how a typical queen-size vertical build breaks down across phases. These estimates assume a single builder working methodically, not racing through tasks and cuts.
Phase 1
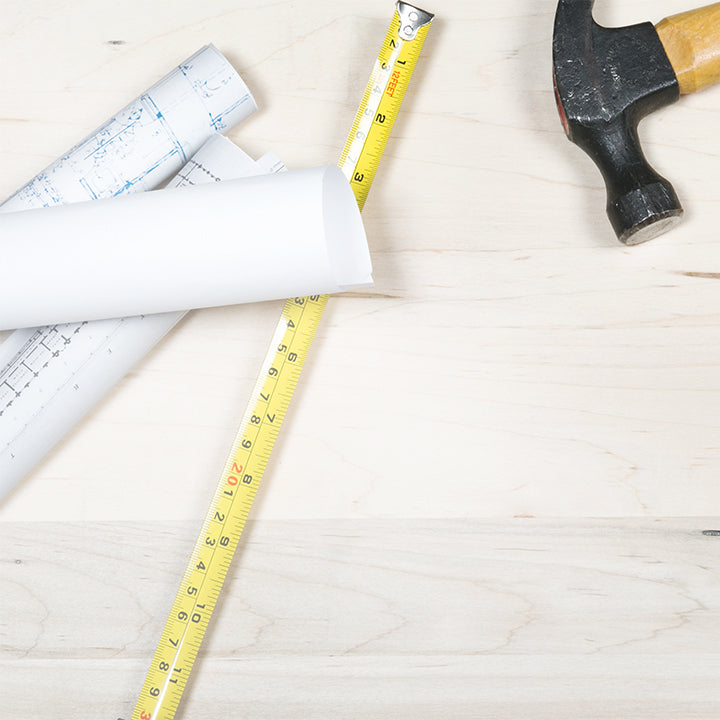
Lumber Selection, Cut List Prep, and Rough Cuts: 3–4 hours
The quality of your lumber selection directly affects the rest of the build.
Create-A-Bed designs require furniture-grade plywood, such as birch, maple, or oak, for the side rails and face panels. This is load-bearing material that has to withstand the torque the pistons generate over a lifetime. Our pistons are rated for 50,000 cycles, and you’ll want wood that can match that lifespan. Standard particle board and MDF are not appropriate here (no need to take notes; it’s all in the instructions).
At the lumber yard, you're selecting for flat, consistent panels without core voids on the edges, which will take some time. Once back in the shop, organizing your material, marking the cut list, and getting through rough cuts is another 2–3 hours for a full queen build (typically four sheets of ¾" plywood and two sheets of ¼" plywood, plus solid wood for the frame struts and bed legs).
Phase 2
Inner Wood Bed Frame: 2–3 hours
This is the skeleton of the bed itself. The inner frame is built from solid wood — poplar, clear pine, or maple work well — and consists of 5 frame struts and the sides. Solid wood here matters because this component bears the most dynamic stress every time the bed is raised or lowered.
The frame assembly is relatively straightforward: cut to spec, square everything up, and fasten it together. The time is spent in getting accurate cuts and making sure the frame is dead square is very important, since an out-of-square frame causes problems at every stage downstream.
Phase 3
Side Rails, Face Panel, and Foot/Head Rails: 4–5 hours
This is the most time-intensive woodworking phase because you're now working with the larger plywood panels and starting to shape the pieces that will define the visible exterior of the finished bed.
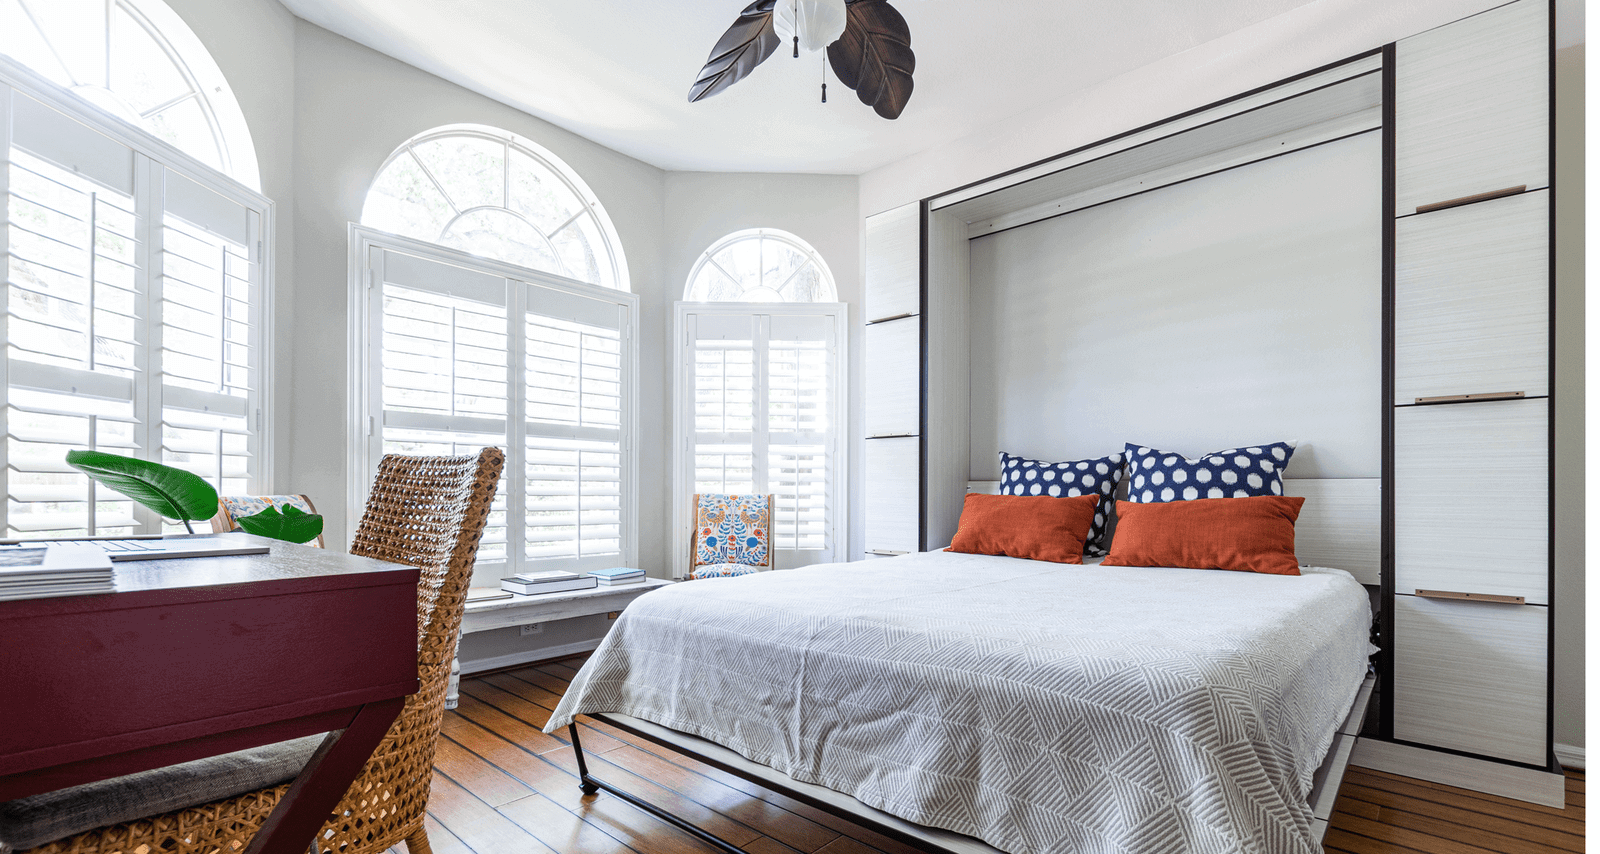
The side rails run the full length of the bed. The face panel — what guests actually see when the bed is closed — is typically two pieces of 3/4" plywood that get joined flush. Getting clean, consistent edges on these panels, applying edge banding where needed, and fitting the foot and head rails to square takes patience.
This phase is also where most builders benefit from a second set of hands, even briefly. Handling large plywood panels solo in a small shop is awkward and introduces risk of damaging the panels.
Phase 4
Cabinet Verticals and Header Assembly: 4–5 hours
The cabinet is what mounts to the wall and houses the entire mechanism. For a queen vertical, the cabinet verticals are ¾" plywood at 15-7/8" × 64-3/8".
The header is a multi-piece assembly: a headboard panel, front rail, rear rail, and mounting cleats. Each of these components has to fit cleanly and be properly aligned before fastening, because the mechanism hardware mounts directly to this assembly.
Phase 5
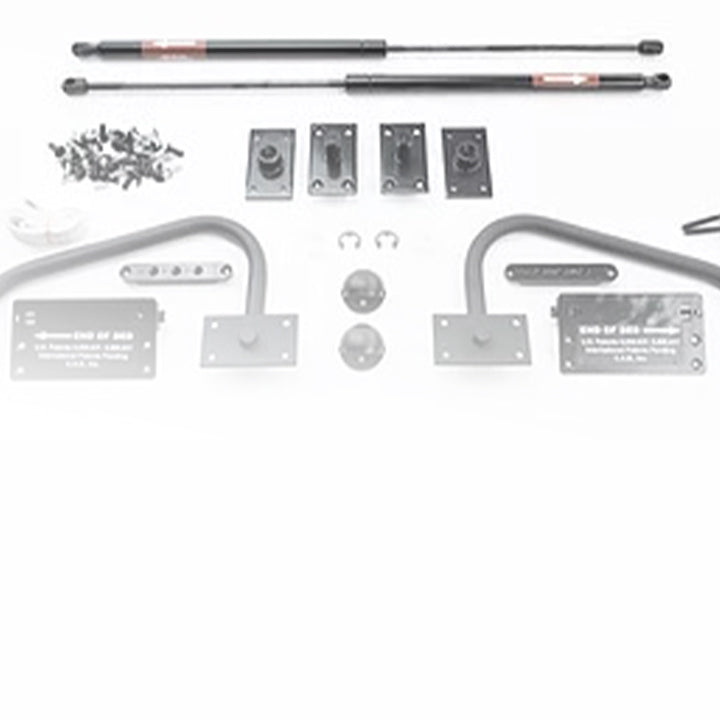
Hardware Installation: 3–4 hours
Installing the Create-A-Bed mechanism is where the build gets technical in a different way. The pistons, pivot hardware, and leg system (disappearing metal tube legs on the Deluxe and Adjustable models; wooden legs on the Standard) all need to be mounted in the correct sequence to the correct positions.
Again, it will likely be helpful to read the instructions for your specific mechanism before you start this phase, rather than during. Understanding the full sequence beforehand could save you significant time (and frustration) if you can avoid a mistake.
The Adjustable mechanism has one notable advantage here: if the lifting force isn't dialed in precisely right after installation, you can recalibrate using a drill to adjust the lower ball stud plate — no disassembly required. That alone can save an hour of troubleshooting on a first build.
Phase 6
Wall Anchoring, Leveling, and Final Adjustment: 2–3 hours
This phase is non-negotiable from a safety standpoint. The finished cabinet must be anchored into at least two wall studs using the proper hardware. A Murphy bed that isn't anchored correctly is a problem — the weight of a 300+ lb assembly coming forward and down uncontrolled is a real hazard!
Take the time to locate your studs accurately, drill pilot holes cleanly, and verify that the cabinet is plumb before running lag screws. If your wall is anything other than standard drywall over wood framing — concrete, metal stud, or tile — add additional time for adding the appropriate anchoring hardware.
Once anchored, lower the bed, add the mattress, and check the balance. Fine-tune from there. A few minutes of adjustment here can make raising and lowering the bed exactly right.
Phase 7
Finishing: 4–8 hours
We’re listing finishing last, but it's not really its own phase; it's more appropriately woven throughout. Some builders finish panels before assembly; others finish the completed unit. Either approach works, but typically finishing the parts before you assemble them makes it easier to get an even coat on everything, and saves you from trying to get all the way into any corners with your brush after assembly.
Two to three coats of paint, stain, or finish, with appropriate dry time between coats, adds 4 to 8 hours of time, though the actual time spent brushing it on is minimal. Water-based stains dry faster; oil-based stains are durable but extend the schedule.
What Adds Time
Understanding where tasks run over helps to plan around those potential roadblocks.
Finish choice. Paint hides more than stain — but stain on furniture-grade wood can look exceptional and is probably worth the extra prep. Either way, budget the drying time realistically into your schedule before you start cutting wood.
Bed size. Going from a queen to a king isn't a linear increase in difficulty. Larger panels are harder to handle and move at every stage of the build. Add 20–30% to every phase estimate for a king build.
Orientation. Horizontal builds have a lower overall height but wider cabinet footprint. Some builders find horizontal builds slightly faster; others find the cabinet assembly more complex.
Solo vs. two-person. If you're building alone, add 2–4 hours spread across the project. Panel handling, cabinet lifting, and final wall anchoring all benefit from a second set of hands. None of it is impossible solo, but it's slower and occasionally awkward.
Custom add-ons. Integrated bookcase panels, built-in lighting, a Murphy desk added onto the bed, and other add-ons all add time proportional to their complexity.
Putting It Together
A Realistic Build Schedule
Most builders can complete a Murphy bed across three to four weekends, depending on the finishing time they need. A reasonable breakdown could look like this:
Day 1: Lumber selection, rough cuts, inner bed frame, start on side rails
Day 2: Complete rails and face panel, plus cabinet verticals and header assembly
In between: Finish coats on completed panels
Day 3: Final assembly, hardware installation, wall anchoring, and any needed calibration
Day 4 (if needed): Final finish touch-ups, mattress arrival, and installation
That schedule isn't rushed, and it produces a better result than trying to compress it more than needed. Projects of this type can also benefit from you taking a break and coming back to view your work and what to do next with fresh eyes.
Start with the Right Kit
The 20-hour estimate assumes you're working from a quality mechanism kit with accurate instructions. Mechanism choice affects more than build time; it is a critical factor in whether the bed still works smoothly after 5, 10, or 20 years.
If you're new to Murphy bed builds, we recommend the Adjustable Mechanism or the Premium Adjustable Mechanism, which includes a 1-on-1 design consultation. The ability to recalibrate lifting force after the bed is fully installed without any disassembly needed is very useful for a first build, where you may not have a precise conception of how the piston tension will interact with your wood bedframe’s weight until everything is together.
If you're experienced and confident, the Deluxe is another excellent mechanism at a lower price point. Either way, you're building with hardware that's manufactured in the USA and backed by a limited lifetime warranty. That’s especially important when you're putting 20 hours of your own labor into the build.
Questions about which mechanism fits your build? Create-A-Bed offers one-on-one design consultations! Please give us a call. A 30-minute conversation with our experts before you buy lumber is well worth half an hour because of the time it will save you.
